
We have many resources for our A4Label range. We are sure you will find some resource here to help you use our A4 label range more creatively.


| Product Code | Label Size | Top Margin | Bottom Margin | Left Margin | Right Margin | Horizontal Gap | Vertical Gap |
|---|---|---|---|---|---|---|---|
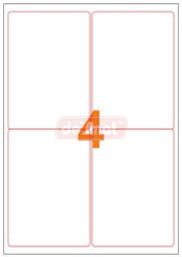
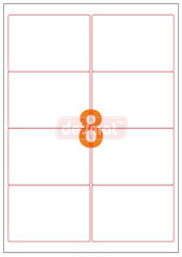
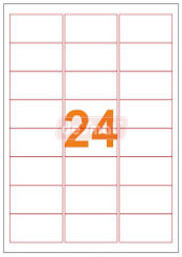
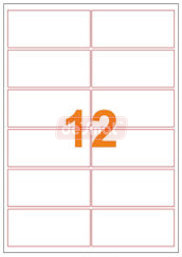
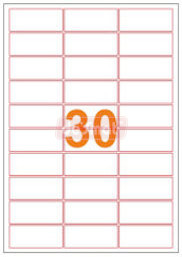
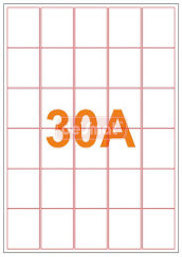
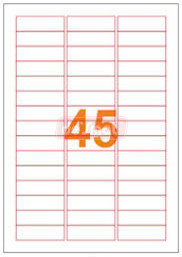
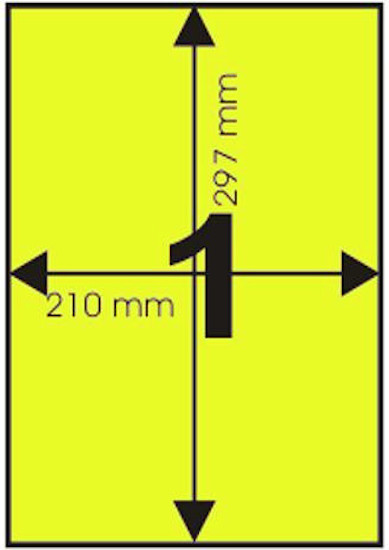
| A4ST-100 | 210 x 297 | 0 | 0 | 0 | 0 | 0 | 0 | A4ST1 | 199.60 x 289.10 | 3.95 | 3.95 | 6.04 | 6.04 | 0 | 0 | A4ST2 | 199.60 x 143.50 | 5 | 5 | 6.033 | 6.03 | 0 | 0 | A4ST4 | 99.10 x 139 | 9.5 | 9.5 | 5.48 | 5.48 | 2.5 | 0 | A4ST6 | 99.10 x 93.10 | 8.85 | 8.85 | 5.48 | 5.48 | 2.5 | 0 | A4ST8 | 99.10 x 67.70 | 13.1 | 13.1 | 5.48 | 5.48 | 2.5 | 0 | A4ST12 | 100.01 x 44.45 | 7.65 | 7.65 | 4.825m | 4.825 | 2 | 3 | A4ST16 | 99.10 x 33.90 | 12.9 | 12.9 | 5.48 | 5.48 | 2.5 | 0 | A4ST24 | 64 x 34 | 12.5 | 12.5 | 7.333 | 7.333 | 2.5 | 0 | A4ST30 | 64 x 26.7 | 6 | 6 | 6.775 | 6.775 | 2 | 2 | A4ST30A | 39 x 48 | 4.5 | 4.5 | 4.334 | 4.334 | 2 | 0 | A4ST45 | 58 x 17.8 | 15 | 15 | 14.775 | 14.775 | 3 | 0 |
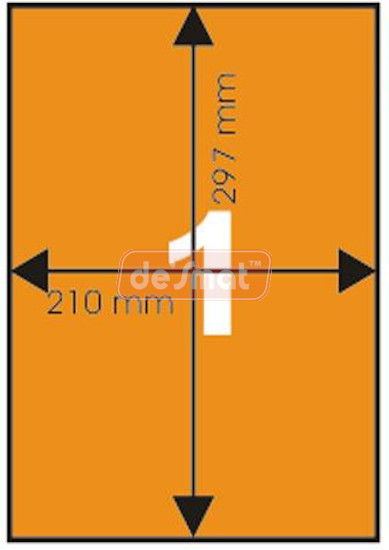
| A4STCG75S | 210 x 297 | 0 | 0 | 0 | 0 | 0 | 0 |
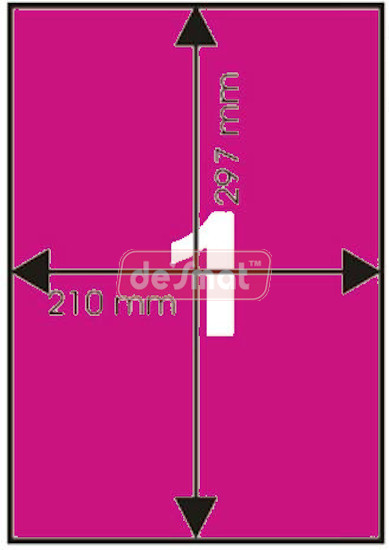
| A4STCL75S | 210 x 297 | 0 | 0 | 0 | 0 | 0 | 0 |
| A4STCO75S | 210 x 297 | 0 | 0 | 0 | 0 | 0 | 0 |
| A4STCP75S | 210 x 297 | 0 | 0 | 0 | 0 | 0 | 0 |
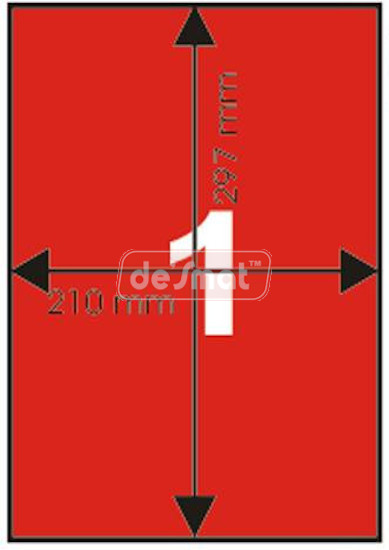
| A4STCR75S | 210 x 297 | 0 | 0 | 0 | 0 | 0 | 0 |
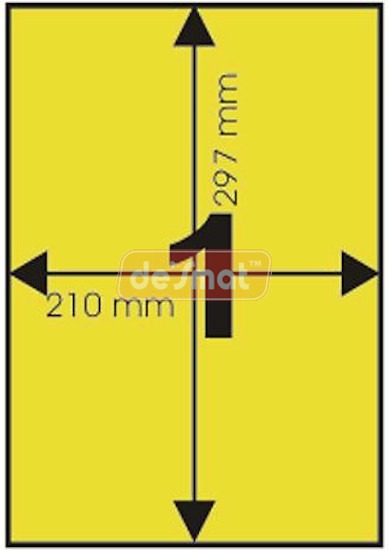
| A4STCY75S | 210 x 297 | 0 | 0 | 0 | 0 | 0 | 0 |


Text of the video, How to Mail merge using the MS Word templates on the desmat web site
Hi everyone,
This tutorial is about how to ail merge using the MS word templates on the desmat web site. Well here is a step by step tutorial to help you .
- Step 1, download the required template on your computer, un zip it, and save the MS Word template in a folder. Lets say the folder name is my mailmerge in your C drive, save it in this folder. If this is your first time, also download the sample address book Ms Excel file from the desmat web site. un zip this excel file also and save it in your my mailmege folder.
- Step 2. We assume you already have MS Word and ms excel installed on your PC. Click on the MS Word file that you un zipped.
- Step 3. your MS Word application should open up and your template should display on your screen.
- Step 4. on your Ms Word ribbon, you should find the mailiing icon, click the icon
- Step 5. We now need to associate the data file with this documnt. click on the icon select recipients
- Step 6. Choose select use existing list from the options. A selection box, will open , browse to select the downloaded excel file, or selecct any other that you may have created.
- Step 7. It is now time to insert the fields on the label, click on the first top most left label to position the cursor, then On the mailing ribbon, locate the insert fields button and click it, A list of all the field names from the excel file you selected earlier will show up. click on the the first field and press enter to create anew line, click the next field, and continue till you have inserted all the fields. now you can format them, but that we will learn in another video, Enhancing your MS Word label.
- Step 8. click on update labels, voila, all your labels are ready and cam be printed right away.
- Step 9. Remember to save this file as, do not press save, else you would loose the template, click on save file as, give it any name you want, and we are now ready to print the labels.
Hope you enjoyed the video.
Note :
You may also use MS Word to create your database, instead of MS Excel, except, that it is by far easier and more flexible to store data in MS Excel.
Text of the video, How to Enhance your MS Word Label
Hi Everyone,
We learned how to mail merge using the desmat label templates. But the labels were not exciting, too dry. lets pep up the labels with some good formatting.
Begin from the end of step 7 of Mail Merge video (see above). Start by selecting the first field, highlight it, right click, select paragraph, a paragraph formatting box will show up, indent the first field a little towards the right,
press ok. The field should have moved to the right, now highlight the data again, select the font button, and select the desired font and size. you may also choose another color for this line, repeat these steps for all the lines and format them as you like giving various indents, positions to text and using various fonts etc.
You can also add a fixed label or text before each line, Say you want to write "City" before the last line, then just write City, and so on.
Now do you want to insert a picture which will be identical on all the labels?, if yes, then, insert a text box, place the text box anywhere on the free space of the label, then, click inside the text box to position the cursor, and look for insert picture icon on the ribbon. Click the icon, Select the picture, resize to fit the box. Once you have formatted the entire label, Click Update fields. and you once again have all the labels neatly formatted ready to print and save.
Hope you enjoyed the video.
Note :
You may add more than one picture on your label, You may add back ground color to your labels, you may filter and print only selected labels from your database, all these things are beyond the scope of this tutorial. Look up Ms Word documentation and help on any other features.


